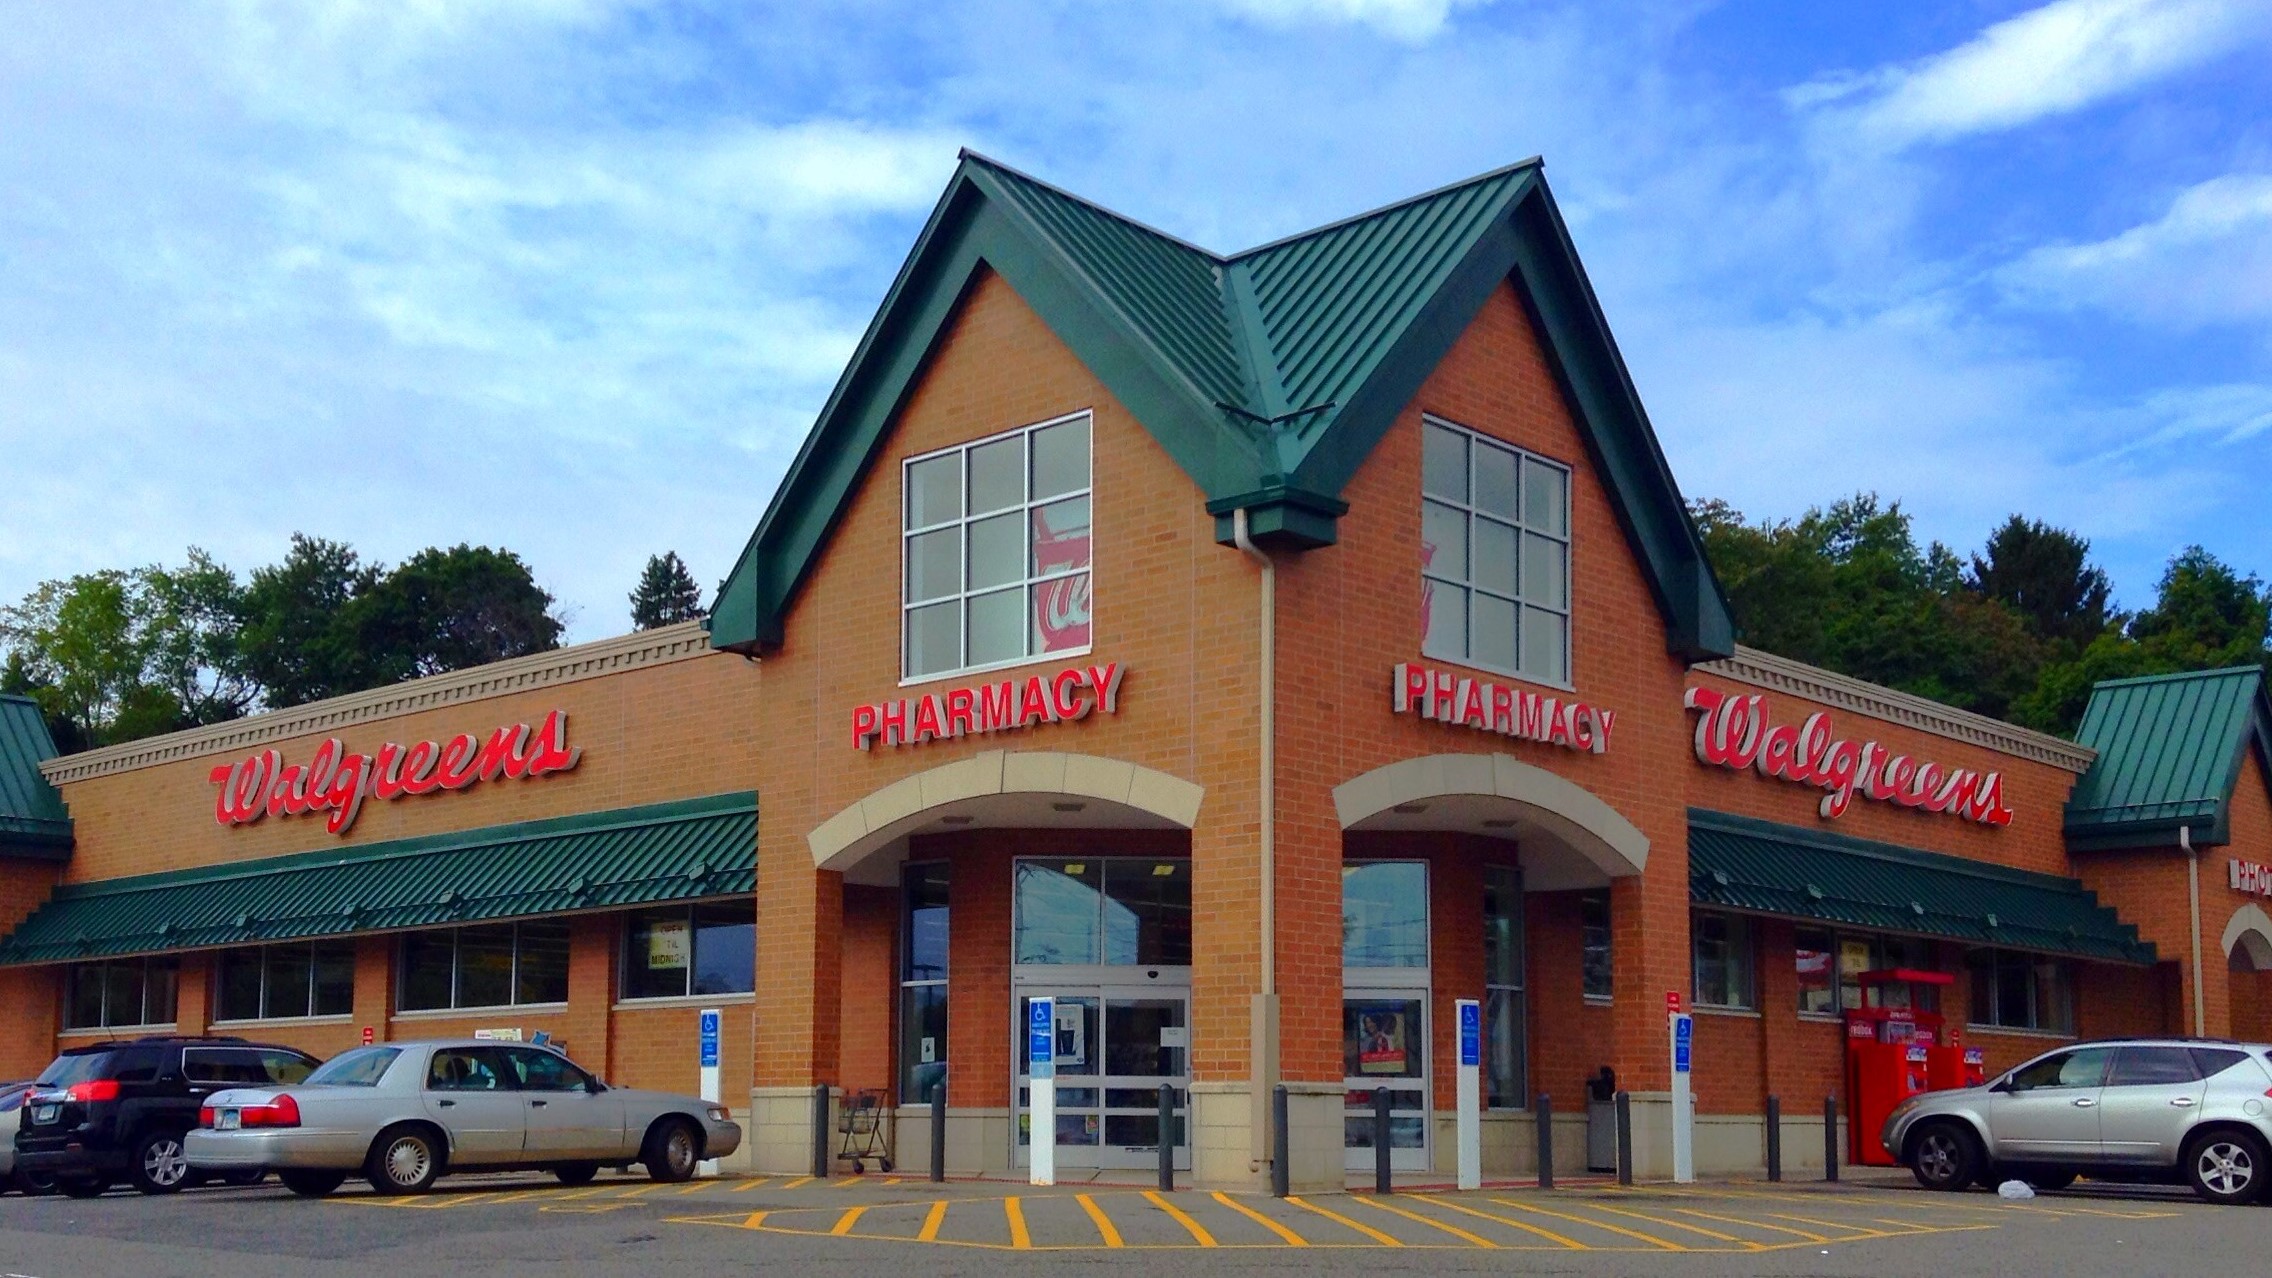
So, you need a passport photo and you’re wondering where to go? Here’s why Walgreens and CVS are the top choices: they’re everywhere, affordable, fast, and pretty reliable. Most people live just a few minutes away from at least one of them. And let’s face it, who doesn’t like the convenience of walking into a store and walking out in 10 minutes with two passport-size photos? Plus, you don’t need an appointment. Walk in, get it done, and head out—it’s that simple.
Understanding Passport Photo Requirements
Before you grab your phone or head to the nearest store, it’s absolutely crucial to understand what makes a passport photo acceptable. These aren’t just casual snapshots—passport photos must meet very specific requirements set by the U.S. Department of State and similar authorities around the world. These rules aren’t just suggestions; they are strict regulations, and if your photo doesn’t comply, it will be rejected. That means delays, headaches, and having to retake the whole thing from scratch.
First off, the size of the photo must be exactly 2 x 2 inches. This isn’t flexible—cropping it too small or too large can instantly disqualify your application. Then there’s the background, which has to be plain white or off-white. No patterns, shadows, or colored walls. It needs to be bright and distraction-free so your face stands out clearly. Also, the positioning of your head matters. From the bottom of your chin to the top of your head, it must measure between 1 inch and 1.4 inches. If you’re too close or too far, the photo won’t meet the standards.
Facial expression and appearance also play a big role. You should have a neutral expression, or at most, a slight natural smile—nothing exaggerated. You must face the camera directly with both eyes open. No side angles, no looking down or up. In terms of clothing, uniforms are a no-go unless they’re religious attire you wear daily. The same goes for headwear—religious exceptions are allowed, but fashion or casual hats are strictly not. And glasses? Completely banned. Even if they’re clear or prescription lenses, you’ll have to take them off for the photo.
All of these requirements exist to make your identification crystal clear and universally recognizable. Even one small misstep—like poor lighting, wrong size, or wearing glasses—can lead to rejection. That’s why getting familiar with these official standards beforehand is the best way to avoid unnecessary stress and wasted time. Whether you’re taking your passport photo at home or getting it done at a retail store, double-check every detail to make sure it checks all the boxes.
Walgreens vs. CVS: What’s the Difference?
| Feature | Walgreens | CVS | Best For | Notes |
| Price per photo | $16.99 | $16.99 | Equal pricing | Includes 2 printed photos at both stores |
| Time to process | 10–15 minutes | 10–20 minutes | Walgreens (slightly faster) | Times may vary by store location |
| Appointment needed? | No | No | Equal convenience | Walk-ins welcome at both chains |
| Retake option | Yes | Yes | Equal service | Staff will retake if you’re not satisfied |
| Digital download offered? | Sometimes (extra $5–$7 fee) | Rarely | Walgreens (better digital access) | Check availability at specific locations |
| Online upload for DIY photo? | Yes (via Photo Tool or App) | Limited functionality | Walgreens (easier for custom uploads) | Good if you bring your own photo |
| Availability of photo kiosks | Widespread | Limited to some locations | Walgreens | Useful for self-service printing |
| Staff training consistency | Generally high | Varies by store | Walgreens (more standardized service) | May affect photo quality or speed |
| Extra services offered | Digital passport copy, visa photos | Basic passport photos only | Walgreens (more options) | Includes foreign visa photos at many sites |
| Print quality | High-resolution matte/glossy | Standard matte | Walgreens (better finish) | Matte preferred for government photos |
Step-by-Step Guide to Printing Passport Photos at Walgreens
Printing passport photos at Walgreens is a surprisingly easy process, even if you’ve never done it before. The staff handles most of the work, and the whole experience usually takes less than 20 minutes from start to finish. Here’s a detailed step-by-step breakdown of how to get your passport photos printed without stress:
- Visit your local Walgreens store
Start by finding the closest Walgreens with a photo center. Most locations offer passport photo services, but it’s a good idea to check online or call ahead just to be sure. - Head to the photo department
Once you’re in the store, look for the photo counter or kiosk section. If it’s not immediately visible, ask any employee and they’ll point you in the right direction. - Request the passport photo service
Let the staff know you need a passport photo. They’ll be familiar with the requirements and will set up everything for you. No need to explain specs—they know what’s needed for official ID. - Stand against the designated background
You’ll be positioned in front of a white or off-white background that meets government regulations. The staff will make sure you’re centered, properly lit, and your head is at the correct height. - Follow their instructions for posing
You’ll be asked to look straight ahead with a neutral expression. No smiling with teeth, and glasses must be removed. They may take a few shots to get the best one. - Review the image preview
Before printing, most locations allow you to take a quick look at the photo to ensure you’re satisfied. If not, you can request a retake on the spot—no extra charge. - Let the staff handle the printing
Once you’re happy with the image, the Walgreens team will print your photos using a high-resolution printer on photo-quality paper. They’ll cut it to the correct 2 x 2 inch size for you. - Wait briefly for processing
It typically takes about 10 to 15 minutes to complete the printing and cutting process. You can browse the store or wait near the counter during this time. - Receive your passport photos
You’ll get two printed copies, neatly trimmed and ready for use in your passport application or renewal. - Pay at the counter
The cost is around $16.99 for the set. Some stores offer digital copies for an extra fee if you ask in advance. - Check your photos before leaving
Quickly glance at the photos to ensure they meet your expectations and that there are no print defects or issues with sizing. - Take your photos and go
That’s it—you’re ready to apply for your passport. Fast, convenient, and professional—all done in a single visit.
Step-by-Step Guide to Printing Passport Photos at CVS
Getting your passport photos printed at CVS is a straightforward process, very much like Walgreens, but with a few subtle differences. When you arrive, head directly to the photo department where trained staff members handle everything for you. This means you don’t have to worry about technical details or fiddling with equipment—CVS employees are there to ensure your photo meets all official standards. Simply let them know you need passport photos, and they’ll set up the proper background and lighting to capture a clear, compliant image.
The staff will take your photo using professional cameras and lighting to guarantee quality. Unlike some self-service kiosks, CVS makes sure the picture is done right by having someone experienced behind the camera. This hands-on approach reduces mistakes and increases your chances of getting a photo that won’t be rejected. After the initial shot, you’ll typically have a chance to review it. If you’re unhappy with how you look or if there’s a technical issue, CVS usually offers one retake at no extra cost, giving you a bit of peace of mind.
Once you approve the photo, the CVS team will process and print it on high-quality photo paper. The printing usually takes about 10 to 20 minutes, depending on how busy the store is. They will cut the photos to the official passport size of 2 x 2 inches and provide you with two copies as required by the passport office. The whole process is designed to be efficient and hassle-free so you can get your photos quickly without stress.
When it comes to payment, CVS charges about $17 for the two printed photos, which is comparable to Walgreens and other retailers. The price covers not only the printing but also the professional service of ensuring your photos meet the strict guidelines needed for passport acceptance. After paying, simply take your photos and you’re ready to submit them with your passport application. The ease and reliability of CVS’s service make it a popular choice for many people needing passport photos.
Can You Bring Your Own Photo?
| Criteria | Walgreens | CVS | How to Submit Your Photo | Important Notes |
| Acceptance of customer photos | Yes, if official standards met | Yes, but less common | Upload via store app, email, USB drive | Photo must strictly follow size and format guidelines |
| Size requirements | Exact 2 x 2 inches | Exact 2 x 2 inches | Photo must be cropped correctly | Improper size means no print for passport use |
| Background requirement | Plain white or off-white | Plain white or off-white | Background must be clean and uniform | Patterns or shadows disqualify the photo |
| Lighting and framing | Bright, even lighting; centered face | Bright, even lighting; centered face | Must be head-on with neutral expression | Blurry or poorly lit images are rejected |
| File submission methods | USB, email, Walgreens app | USB, email (limited app support) | Store app preferred at Walgreens | Check store capabilities before submitting |
How to Take a Passport Photo at Home
Taking your own passport photo at home can save you both time and money, but it requires careful attention to detail. Here’s a detailed step-by-step list to help you capture a high-quality, official passport photo without leaving your house:
- Use your smartphone’s back camera
The rear camera generally has higher resolution and better image quality than the front-facing selfie camera, which is essential for clear, sharp photos. - Find a plain white or off-white wall
Choose a spot in your home with a smooth, light-colored background free of patterns, shadows, or objects that might distract or cause rejection. - Hang a white sheet if needed
If your walls aren’t plain enough, drape a white or off-white sheet behind you to create the proper backdrop. - Use natural daylight from a window
Position yourself facing a window during the day to ensure even, soft lighting across your face, avoiding harsh shadows or bright spots. - Avoid using overhead lights or flash
Artificial lighting can create unwanted shadows or change skin tones, so natural light is your best friend for passport photos. - Set your phone at eye level
Use a tripod, stack of books, or any stable surface to position your phone exactly at your eye height for a straight-on shot. - Keep the camera about 4 to 6 feet away
This distance helps avoid distortion while still capturing your full head and shoulders in the frame. - Stand straight and look directly at the camera
Keep your head centered, eyes open, and mouth closed with a neutral expression or a slight natural smile. - Remove glasses, hats, or any headwear
Unless worn for religious reasons, these are not allowed in passport photos. - Take multiple shots
Experiment with a few poses and lighting variations to pick the best image. - Use an online passport photo tool to crop and size your image
Upload your favorite photo to a trusted passport photo website or app to ensure it fits all government specifications exactly (2 x 2 inches, correct head size, etc.). - Check the final image carefully
Make sure your face is well-lit, the background is clean, and no shadows or glare appear anywhere.
Using Online Tools Before Going to Walgreens or CVS
Here’s a little-known trick that can save you both time and money when getting passport photos. Instead of paying full price for in-store photography services, you can prepare your own passport photo at home using free online tools. These websites guide you step-by-step to crop, size, and format your photo exactly to official passport standards. Once your photo is ready, you can simply bring the digital file to Walgreens or CVS and print it as a standard 4×6 photo, which costs just a fraction of the price compared to the in-store service.
Some popular and reliable online tools you can use include IDPhoto4You, 123PassportPhoto, and ePassportPhoto. These sites are designed to help you upload a picture, remove backgrounds if needed, adjust the size, and arrange the images perfectly. They format your photo into a 4×6 inch layout containing six passport-sized copies, making it easy and cost-effective to print multiple photos at once. Since most photo printing kiosks at Walgreens and CVS accept standard 4×6 prints, this method allows you to print six passport photos for under a dollar.
By using these online services, you’re essentially taking control of the entire process. You can retake the photo as many times as you want, adjust the brightness or contrast, and ensure everything is compliant with passport photo requirements. It’s also handy because you can work on this from the comfort of your own home, saving you from potentially awkward or rushed in-store photo sessions. Plus, you avoid paying for the convenience and expertise of professional staff—although, if you prefer, that option is always there.
When you arrive at Walgreens or CVS with your prepared file, all you need to do is upload it to the store’s photo kiosk or hand it to the staff for printing. Since it’s just a standard photo print, the cost is minimal, and you walk out with multiple ready-to-use passport photos. This approach blends DIY convenience with the affordability and accessibility of retail printing, making it a smart choice for budget-conscious travelers.